
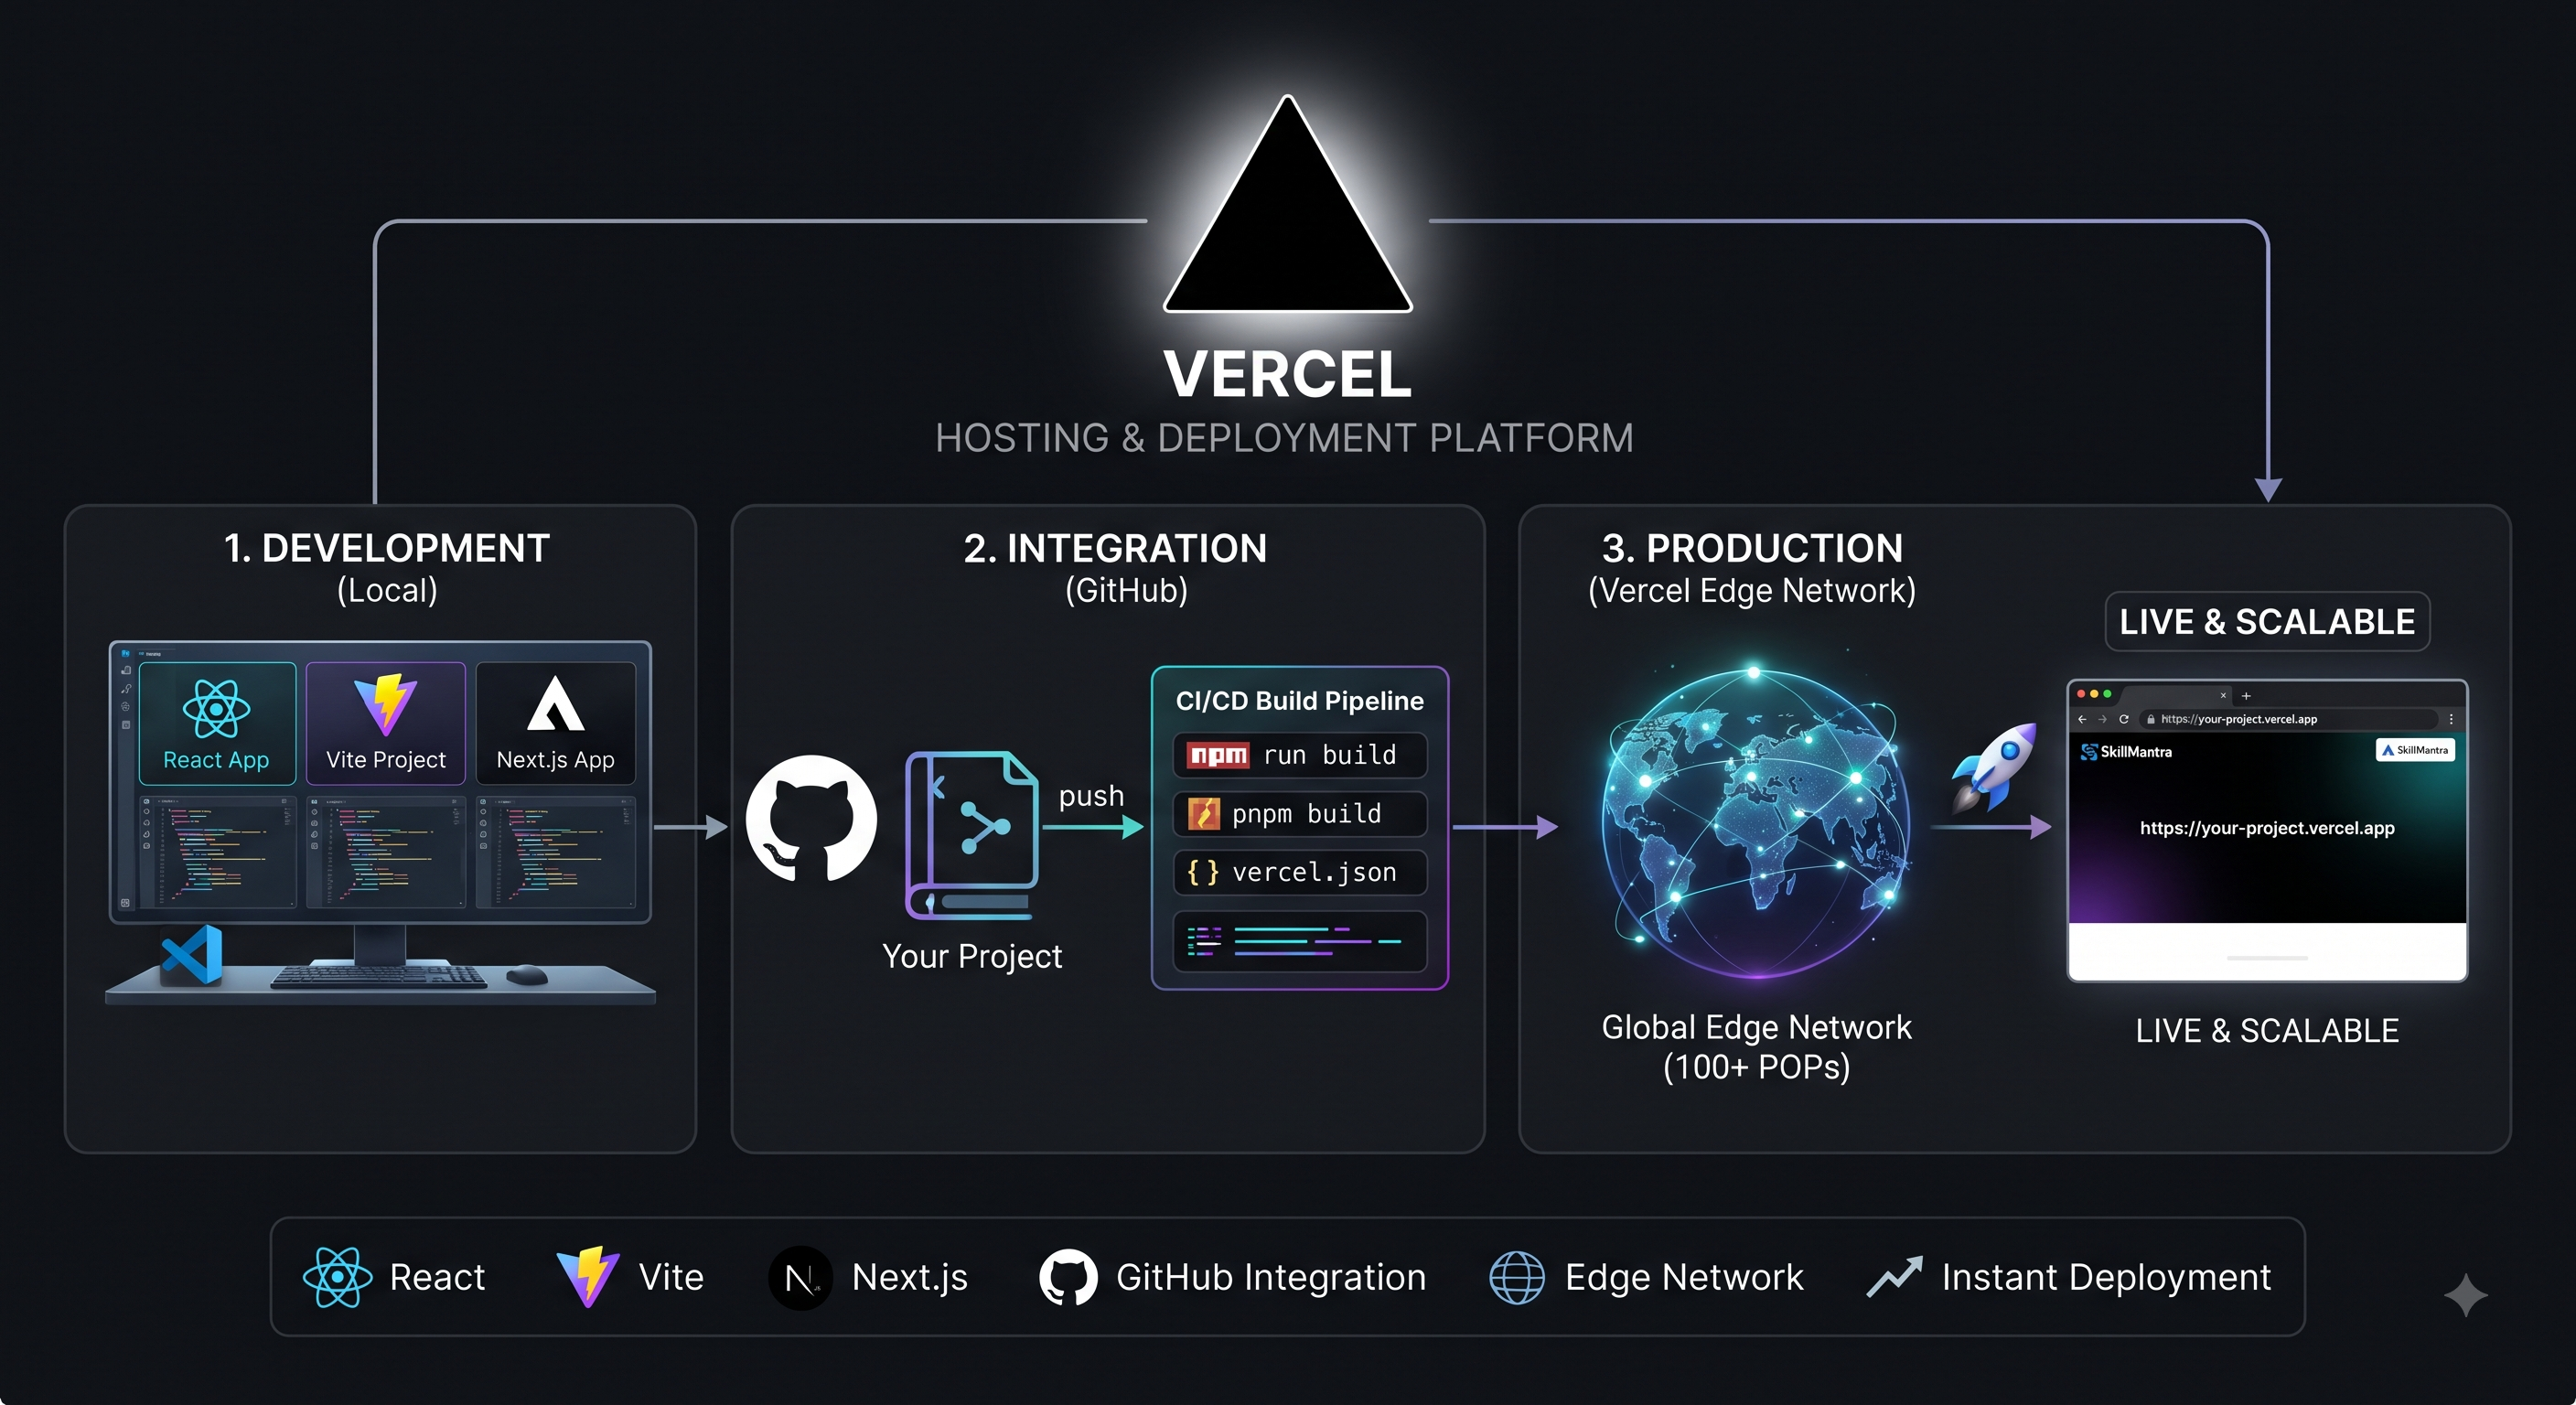
When you build a modern web application-whether it's a React SPA, a Vite-powered project, or a Next.js application-getting it out of your local development environment and onto the live internet is the ultimate milestone.
For developers, students, and tech entrepreneurs alike, Vercel has become one of the most reliable and efficient platforms to host and scale web projects.
In this guide, we’ll walk through the two easiest ways to deploy your application to Vercel: via GitHub integration (recommended for automatic updates) and via the Vercel CLI (for rapid command-line deployments).
Method 1: Deploying via GitHub (The Automatic Way)
Connecting your GitHub repository to Vercel is the best approach for long-term projects because every time you push new code (git push), Vercel automatically builds and deploys the update.
Step 1: Push Your Code to GitHub
Ensure your project is initialized as a Git repository and pushed to a remote repository on GitHub:
git init
git add -A
git commit -m "feat: initial project structure"
git branch -M main
git remote add origin https://github.com/YOUR_USERNAME/YOUR_REPOSITORY_NAME.git
git push -u origin main
Step 2: Import Your Project to Vercel
- Log in to your Vercel Dashboard using your GitHub account.
- Click on Add New... and select Project.
- Under Import Git Repository, find your repository and click Import.
Step 3: Configure Build Settings
Vercel is intelligent and will automatically detect your framework (Vite, Next.js, React, etc.) and fill in the correct settings:
- Framework Preset: Auto-detected (e.g., Vite, Next.js)
- Root Directory:
./(or your project's root folder) - Build Command: Auto-configured (e.g.,
npm run buildorpnpm build) - Output Directory: Auto-configured (e.g.,
distfor Vite or.nextfor Next.js)
Note: If your Vite project is configured as a Single Page Application (SPA) and relies on client-side routing, or if you encounter a 404 error on deep links, create a vercel.json file at your root directory:
{
  "rewrites": [
    { "source": "/(.*)", "destination": "/index.html" }
  ]
}
Also, remember that secret API keys or database strings should be added under the Environment Variables section (for Vite, ensure they are prefixed with VITE_ so they are accessible during build).
Step 4: Click Deploy
Hit the Deploy button. Vercel will stream the build logs live, optimize your static or server assets, and give you a live production URL (e.g., your-app.vercel.app) within seconds!
Method 2: Deploying via the Vercel CLI (The Rapid Way)
If you prefer staying inside your terminal or want to test a deployment instantly without setting up a GitHub repository first, you can use the Vercel Command Line Interface.
Step 1: Install the Vercel CLI Globally
Run the following command in your terminal:
npm i -g vercel(You can also use pnpm add -g vercel or yarn global add vercel if you prefer alternative package managers).
Step 2: Log In to Your Vercel Account
Authenticate your terminal session with Vercel:
vercel loginFollow the browser prompts to log in.
Step 3: Deploy Your Project
Navigate to the root directory of your project folder and run:
vercelThe CLI will ask you a few quick setup questions (such as linking to an existing project or setting up a new one). Once completed, it will build your project and provide an instant preview URL.
To deploy directly to your production environment, bypassing preview states, run:
vercel --prodBest Practices for a Smooth Deployment
- Check Your Output Folders: Ensure your bundler (like Vite) generates files in the correct directory so Vercel doesn't return a
404 Not Founderror. - Keep Dependencies Clean: Make sure all required packages are listed under
dependenciesrather thandevDependenciesin yourpackage.jsonso build steps never fail on missing modules. - Leverage Preview Deployments: Every time you open a Pull Request on GitHub, Vercel automatically generates a unique preview URL, allowing you to test changes before merging them into production.
Next Steps
Now that your project is live, you can hook up a Custom Domain directly from the Vercel dashboard to give your application a professional brand identity.
Happy coding, and enjoy watching your projects go live with SkillMantra!
Written by SkillMantra Engineering
Engineering lead at SkillMantra. Focused on high-scale architecture and regional tech expansion protocols.